 Save Pin
 My panini press sat gathering dust in a cabinet until the day my neighbor mentioned how crispy hers turned out at lunch. I pulled mine out on a whim, grabbed whatever bread and cheese I had, and pressed it. The smell that filled my kitchen—toasted bread, melting cheese, warm basil—was instant redemption for that appliance. Since then, I've become a little obsessed with building the perfect pressed sandwich, experimenting with combinations that go way beyond the obvious. It's become my go-to move when I want something that feels restaurant-quality but takes less time than ordering out.
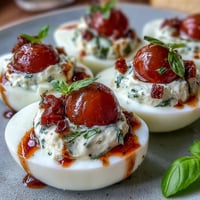
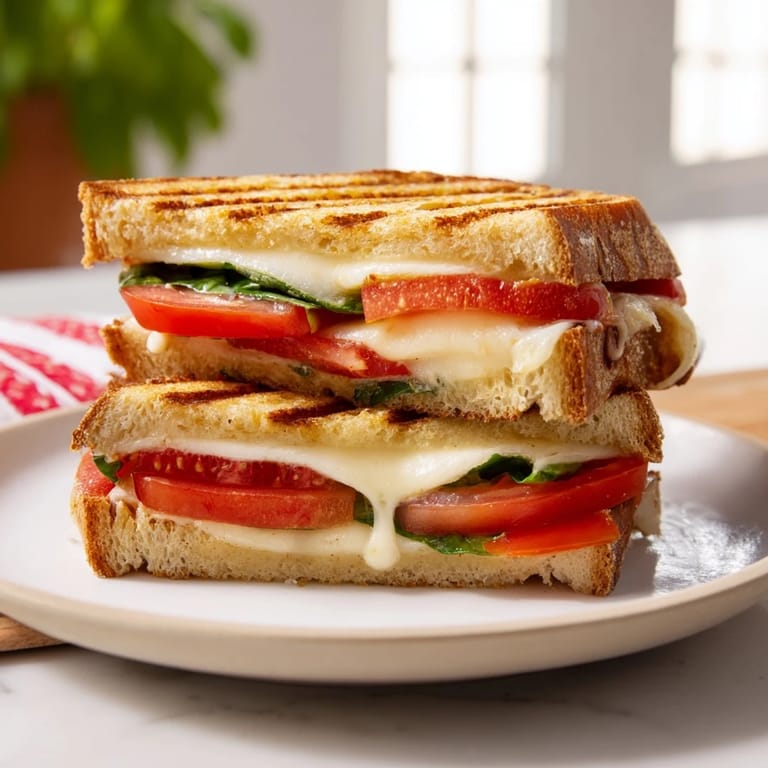
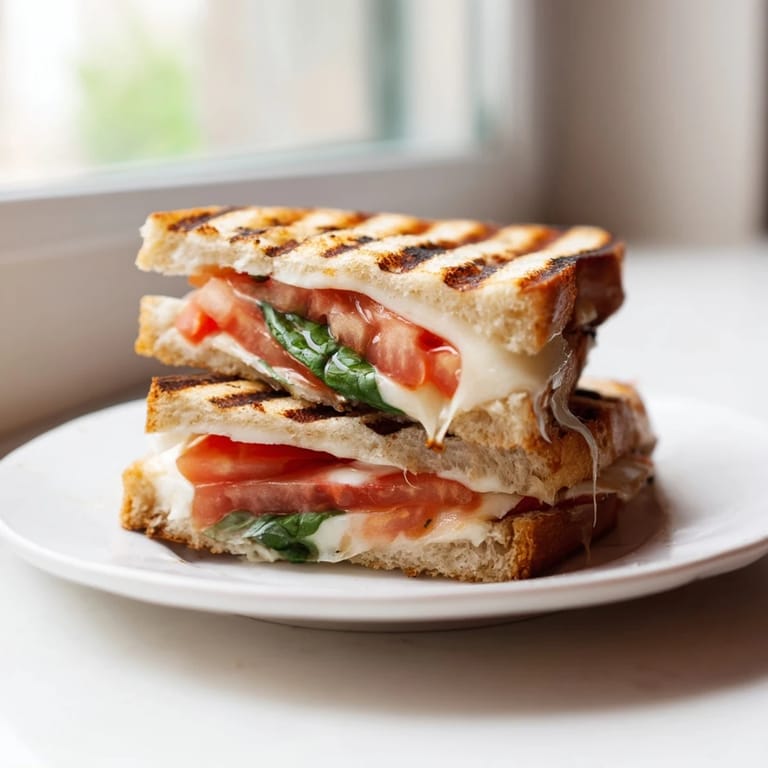
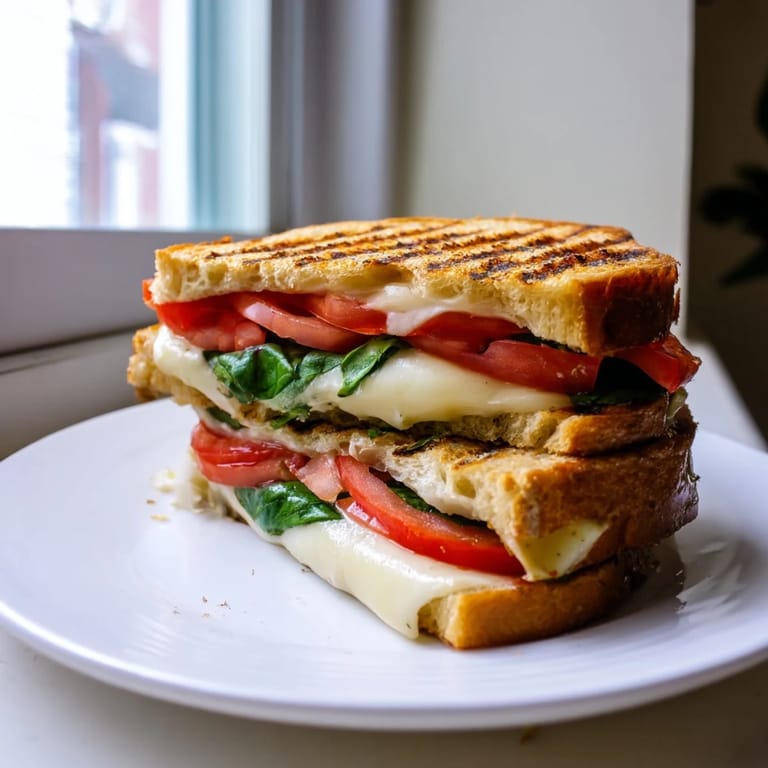
I made the Caprese version for my sister right after she moved into her new place, and we sat on her unfurnished living room floor eating them warm while talking about her new job. The simple combination of mozzarella, tomato, and basil felt elegant somehow, even in those bare rooms with boxes everywhere. She's requested that exact panini every time I visit now, which says something about how a really good sandwich can become a small tradition between people.
Ingredients
- Sourdough or ciabatta bread: The structure matters here—you need bread that can withstand pressure without turning into mush, and these varieties have that slight tang that makes everything taste more sophisticated.
- Fresh mozzarella: Real mozzarella melts differently than pre-packaged cheese; it gets creamy instead of rubbery, and the difference is honestly night and day.
- Basil pesto: Go for the good stuff if you can, or make your own—store-bought varies wildly in quality and freshness.
- Multigrain bread: Holds up to heavier fillings and adds nutty flavor, plus turkey and cranberry just work better on something hearty.
- Cranberry sauce: Acts as both moisture and sweet contrast; this is where that turkey sandwich stops being boring.
- Swiss cheese: Has tiny holes that let heat distribute evenly, and the flavor is subtle enough not to overpower the fruit element.
- Focaccia or rustic bread: When you're loading vegetables, you want a bread that's sturdy enough to handle the weight without falling apart.
- Grilled vegetables: Take 10 minutes ahead of time to grill your eggplant and zucchini—this removes moisture that would otherwise make the sandwich soggy.
- Feta cheese: Crumbled feta brings a salty bite that plays beautifully with vegetables and hummus.
- Hummus: Your fat and flavor base here; it spreads easier than mayo and doesn't get weird under heat.
- BBQ sauce: Coats everything in sweetness and smoke; a good quality sauce makes or breaks the spicy chicken version.
- Pepper jack cheese: The spice in this cheese builds on the heat from the sauce, creating layers of flavor.
Tired of Takeout? 🥡
Get 10 meals you can make faster than delivery arrives. Seriously.
One email. No spam. Unsubscribe anytime.
Instructions
- Preheat your press with intention:
- Don't skip this step—a truly hot surface is what creates that crispy exterior. Most presses need 3–5 minutes, and you'll know it's ready when water droplets evaporate immediately.
- Lay out your bread and think about moisture:
- Two slices per sandwich, and this is where you consider what you're putting inside. Wetter fillings need drier spreads; drier fillings can handle more sauce.
- Spread your base with a light hand:
- You want enough flavor to notice it, but not so much that it squishes out when pressed. Think thin enough to see the bread underneath.
- Layer with strategy, not just generosity:
- Cheese near the bread helps it bind when melted; vegetables in the middle where they won't escape; greens on top so they stay fresher. Every placement matters.
- Brush or spread the outside carefully:
- This is what makes the difference between golden and burnt. A light coat of oil or butter distributed evenly is all you need.
- Press with confidence and listen:
- Once you close the lid, you'll hear the sizzle start after about 30 seconds. That sound means it's working. Most sandwiches need 4–5 minutes; don't open it early to check.
- Remove when the bread is burnished and crisp:
- The edges should be darker gold than the center, and when you gently press the top, it should feel firm. If cheese is still cold inside, give it another minute.
- Rest it for 30 seconds before cutting:
- This gives the cheese a moment to set slightly, so it doesn't just run everywhere when you slice through.
 Save Pin
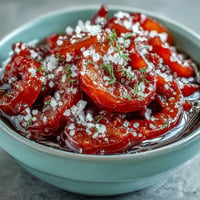
 My roommate came home from a brutal day at work one evening, and I had just finished pressing a batch of the Mediterranean veggie versions. Something about handing her a warm sandwich and having her actually smile for the first time that day reminded me why I love cooking small things for people. It wasn't complicated or fancy, but it was thoughtful, and it was exactly what she needed.
The Art of Choosing Your Bread
Bread is honestly more important than the filling, and I learned this the hard way after using regular sandwich bread and getting something that compressed into almost nothing. The structure of sourdough, ciabatta, or focaccia means you get those crispy exterior layers without the whole thing turning into mush. I've started buying bread from the bakery section instead of the packaged loaves, and it's made such a noticeable difference that I can't go back. Thicker slices also help—try to get bread that's at least three-quarters of an inch thick so it can stand up to pressure.
Building Your Own Combinations
Once you've made these four, you start seeing panini potential everywhere. That prosciutto and fig jam sitting in your pantry? Absolutely. The leftover roasted chicken and pesto and sun-dried tomatoes? That's a sandwich waiting to happen. I keep a mental running list of combinations I want to try, and half the fun is experimenting with what works. The best discovery I've made is that leftovers from dinner last night often make incredible panini fillings today.
Pairing and Serving Smart
A panini is actually substantial enough to be a full meal, but I've learned that a simple side makes it feel complete and gives you something to do while the cheese is still melting. A light salad with vinaigrette, a small cup of soup, or even pickles on the side add contrast and freshness. If you're thinking wine, trust your instincts: citrusy and light with the Caprese, something with more body with the BBQ chicken. The whole experience becomes less about rushed lunch and more about an actual meal moment.
- Make your panini components ahead of time on a day when you have energy, and assembly becomes a five-minute operation.
- Don't press multiple sandwiches at once unless your press is huge—they cook unevenly and you'll have cold spots.
- Slice your panini on a diagonal because it looks better and somehow tastes better too.
 Save Pin
 These panini have become my answer to that question of what to make when you want something good but don't have much time or energy. There's something deeply satisfying about pressing a sandwich and watching it transform from two ordinary slices into something golden and melted and completely ready to make you happy.
Recipe FAQs
- → What temperature should I set my panini press to?
Preheat your panini press according to the manufacturer's instructions. Most presses heat to 350-400°F (175-200°C). If your press has adjustable temperature settings, medium heat typically works best for cooking panini in 4-6 minutes without burning the bread.
- → How do I prevent the bread from getting too crispy?
Brush the outer sides of bread lightly with olive oil or spread with butter rather than applying thick layers. Avoid overloading fillings, which can cause moisture loss. Monitor cooking time carefully—remove sandwiches as soon as bread reaches golden brown to prevent excessive crisping.
- → Can I prepare these sandwiches ahead of time?
Assemble panini up to 2 hours before pressing and store them refrigerated in an airtight container. Cold sandwiches may take 1-2 minutes longer to cook. Alternatively, prepare individual components separately and assemble just before pressing for optimal flavor and texture.
- → What are good side pairings for these sandwiches?
Serve with a simple green salad, tomato soup, or minestrone for a complete meal. For beverages, pair Caprese with crisp Pinot Grigio, BBQ Chicken with light red wine, and Mediterranean Veggie with sparkling water or white wine. Pickled vegetables complement spicy variations.
- → How can I make vegetarian or vegan versions?
Omit meat and increase vegetable and cheese quantities. Use grilled eggplant, zucchini, roasted peppers, caramelized onions, and mushrooms as protein-rich bases. For vegan options, substitute dairy cheese with plant-based alternatives and use coconut oil or olive oil instead of butter.
- → What bread types work best for panini?
Dense, structured breads are ideal: sourdough, ciabatta, focaccia, and multigrain varieties hold up well to pressing and produce crispy exteriors. Avoid soft white bread or thin sandwich bread as they compress too easily. Cut bread into even slices for consistent cooking and presentation.