 Save Pin
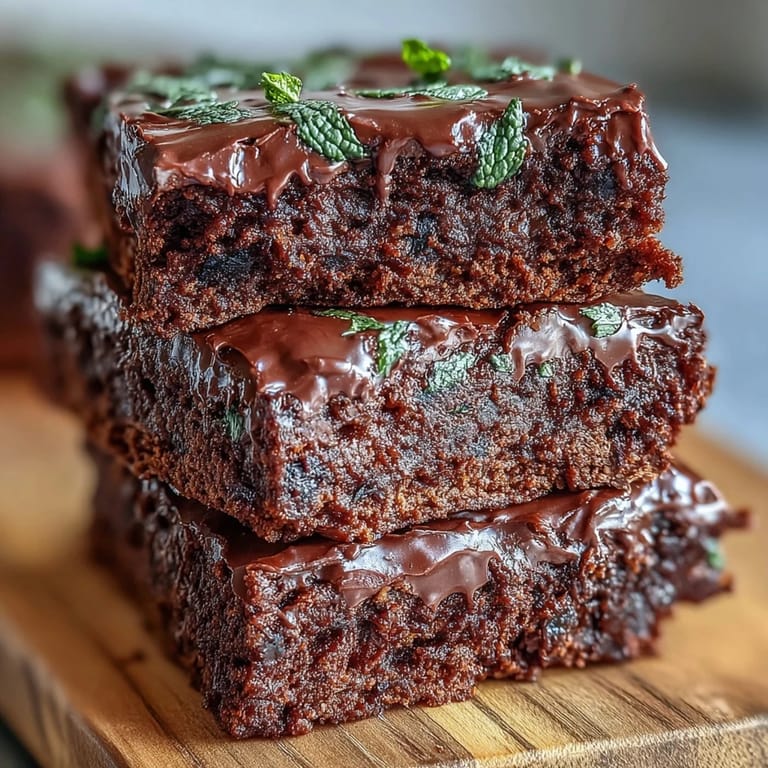
 My neighbor stopped by on St. Patrick's Day with that knowing smile—the one that says she's already sampled half the treats in my kitchen. She bit into one of these mint chocolate brownie bites and actually closed her eyes. That moment, watching someone experience something you've just created, is exactly why I keep making these every March. There's something about the cool peppermint hitting against rich, fudgy chocolate that feels like a small celebration in bite form. These little gems have become my go-to for holiday gatherings, potlucks, and honestly, just because Tuesday happened.
Last year I brought a batch to my office on March 17th, and they disappeared before lunch. The comment that stuck with me came from the person who usually skips desserts—she said they tasted like the fancy chocolate shops actually deliver when you buy those overpriced boxes. Making these for people you care about feels disproportionately generous for how simple they are.
Ingredients
- All-purpose flour (3/4 cup): This gives structure without making the bites cake-like; measure by spooning and leveling rather than scooping directly into the bag.
- Unsweetened cocoa powder (1/2 cup): Use quality cocoa here—it's one of only a few ingredients, so it matters more than you'd think.
- Baking powder (1/2 tsp): Just enough to help them rise slightly; too much and they'll taste bitter.
- Salt (1/4 tsp): This tiny amount amplifies the chocolate flavor in ways people won't consciously notice but will definitely taste.
- Unsalted butter, melted (1/2 cup): Let it cool slightly so the eggs don't scramble when you add them; this matters more than it sounds.
- Granulated sugar (1 cup): The sweetness that carries the chocolate, so don't skimp here.
- Eggs, room temperature (2 large): Cold eggs create lumps; set yours out while you preheat the oven.
- Pure vanilla extract (1/2 tsp): This deepens the chocolate without announcing itself.
- Peppermint extract (1/2 tsp): Start here—you can always add more, but you can't take it out.
- Green food coloring, optional (2-3 drops): A tiny touch that makes them feel intentionally festive without looking artificial.
- Mini chocolate chips (1/2 cup, plus more for topping): The small size distributes flavor throughout rather than creating chocolate chunks that don't integrate.
- Chopped Andes mints or mint chocolate pieces, optional (1/4 cup): These add texture and a concentrated mint flavor that makes people lean in and ask what you did differently.
Tired of Takeout? 🥡
Get 10 meals you can make faster than delivery arrives. Seriously.
One email. No spam. Unsubscribe anytime.
Instructions
- Preheat and prepare:
- Set your oven to 350°F and get that mini muffin tin ready with liners or a light grease coating. The liners make cleanup effortless, and your bites will release cleanly without sticking.
- Build the dry foundation:
- Whisk together flour, cocoa powder, baking powder, and salt in a medium bowl until everything looks evenly distributed. This step aerates the cocoa and prevents any bitter clumps from hiding in the batter.
- Combine your wet base:
- In a larger bowl, whisk the cooled melted butter with sugar until the mixture looks grainy and combined, then add eggs one at a time, stirring smoothly between additions. Add vanilla, peppermint extract, and a few drops of green food coloring if you're going that route, and keep whisking until it's pale and slightly fluffy.
- Bring it together gently:
- Fold the dry ingredients into the wet mixture slowly—this isn't the moment to be aggressive, as overmixing creates tough, dense bites instead of fudgy ones. Stop folding the second you don't see streaks of flour anymore.
- Add your treasures:
- Stir in the mini chocolate chips and chopped Andes mints if using, making sure they're distributed evenly throughout so every bite tastes intentional.
- Fill with intention:
- Spoon batter into each cup until it's about 3/4 full—they'll rise slightly as they bake. Sprinkle a few extra chocolate chips on top of each one if you want them to catch the light and look extra inviting.
- Bake until set:
- Slide into the oven for 13 to 15 minutes, watching for that moment when a toothpick inserted in the center comes out mostly clean with a few moist crumbs still clinging to it. This is the sweet spot between underbaked and overcooked; it's what makes them fudgy instead of cake-like.
- Cool with patience:
- Let them sit in the tin for 5 minutes so they firm up just enough to move without falling apart, then transfer to a wire rack where the air can reach all sides. They'll continue to set as they cool completely.
 Save Pin
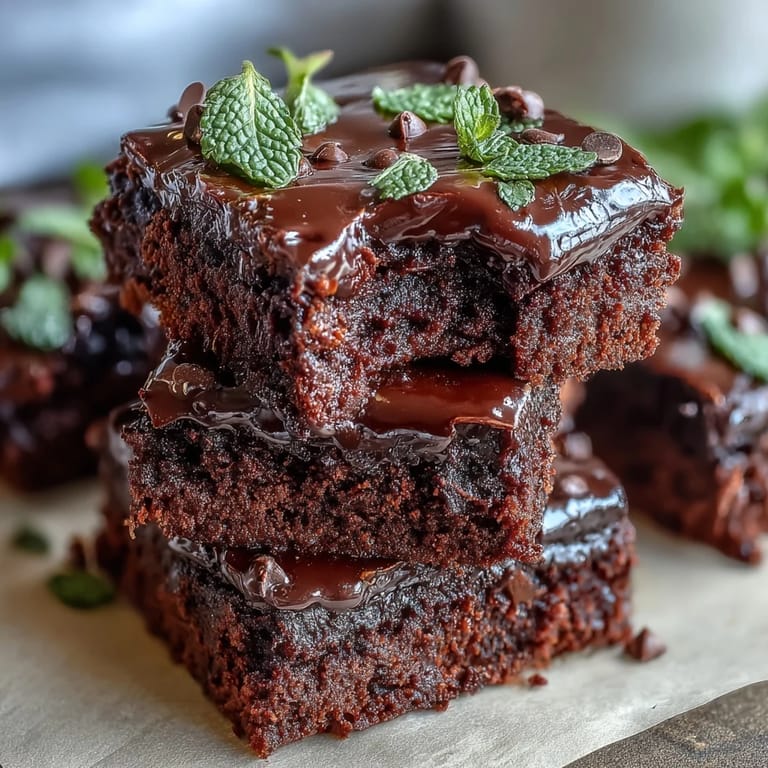
 My daughter asked if we could make these together for her class party, and watching her measure out the cocoa powder with exaggerated care, trying not to make a mess, reminded me that sometimes food is really about creating small moments of togetherness. When she brought home a note that said three kids asked her for the recipe, I realized these little bites had become more than just dessert—they were her small claim to something special.
Why These Bites Hit Different
There's a texture to achieving fudgy brownies in mini form that's trickier than it seems. The smaller size means they bake faster, which means that window between underbaked and overcooked is maybe 90 seconds, not ten minutes. I've learned to set a timer at 12 minutes and start checking, rather than assuming they'll take the full 15. The payoff is brownies that feel luxurious and indulgent despite being appropriately portion-controlled, which somehow makes people feel like they're eating something forbidden while staying reasonable.
The Mint Question
Peppermint is polarizing in a way that's taught me to be thoughtful. Some people want their mint to announce itself loudly; others want to detect it like they're solving a puzzle. I've started asking people which camp they're in before I adjust the extract. The beauty of this recipe is that it starts conservative, so you can always lean into a stronger mint flavor by increasing the extract to 3/4 teaspoon or even a full teaspoon if you're serving confirmed mint enthusiasts. What won't work is pulling back, so I always recommend tasting a small spoonful of batter if you're experimenting.
Storage and Keeping
These keep beautifully in an airtight container for up to five days, and honestly, they taste better on day two once the flavors have melded and deepened slightly. I've learned to store them in single layers separated by parchment so they don't stick to each other or get compressed, which would destroy that delicate fudgy texture you worked hard to achieve.
- If you want to make them further ahead, these freeze exceptionally well for up to a month—just thaw them at room temperature for 20 minutes before serving.
- The Andes mints can be swapped for any mint chocolate pieces you find, or omitted entirely if you want a classic brownie with just the peppermint extract for flavor.
- A mini muffin tin is essential here; regular muffin tins would give you six bites instead of 24, and the baking time would need adjusting entirely.
 Save Pin
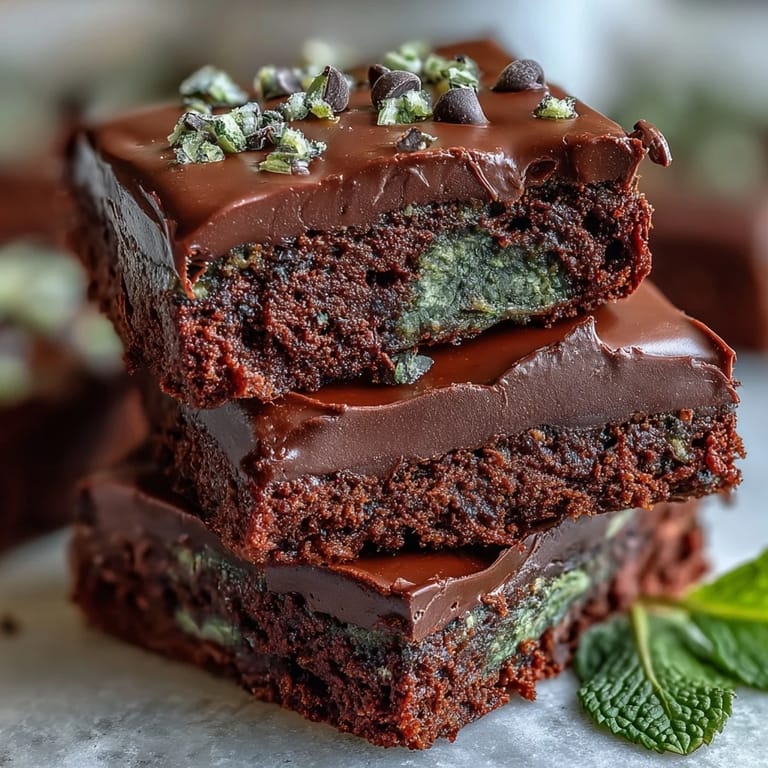
 These bites have become my small tradition, the thing I make when March rolls around and I want to feel like I'm celebrating something together with whoever ends up tasting them. They're proof that sometimes the simplest recipes carry the most meaning.
Recipe FAQs
- → How do I intensify the mint flavor?
Increase the peppermint extract slightly, but be careful not to overpower the chocolate's richness.
- → Can I substitute Andes mints with another ingredient?
Yes, you can use mint-flavored chocolate bars or omit them for a classic chocolate chip taste.
- → What type of pan should I use?
A mini muffin tin or liners work best to achieve the perfect bite-sized portions.
- → How should I store the brownie bites?
Keep them in an airtight container at room temperature for up to 5 days to maintain freshness.
- → Are these suitable for vegetarian diets?
Yes, the ingredients used are vegetarian-friendly.
- → Can I add green food coloring?
Yes, adding 2–3 drops of green food coloring gives a festive look but is optional.