 Save Pin
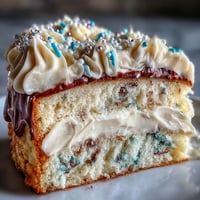
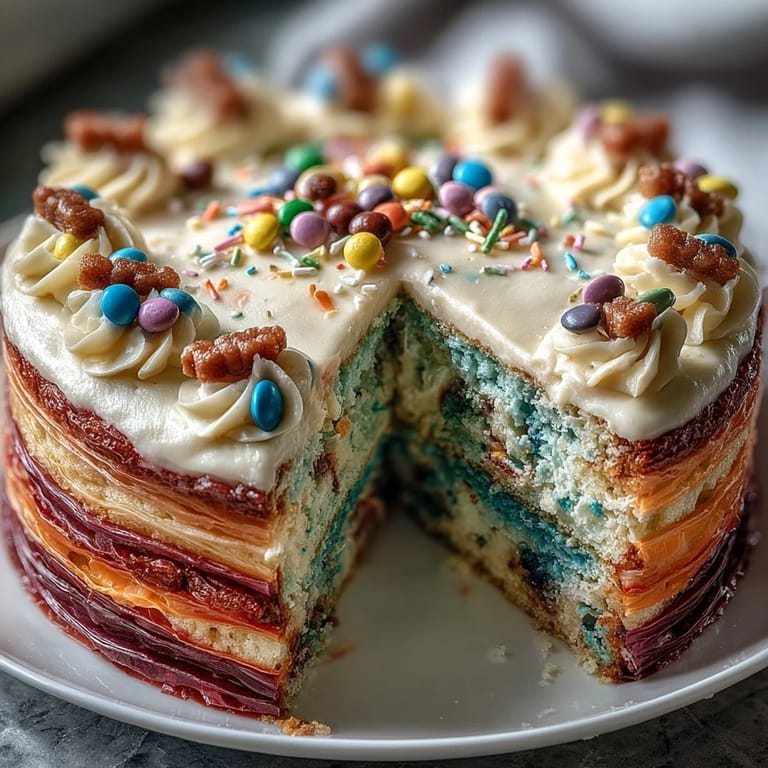
 The first time I made a piñata cake, my daughter stood on a stool in the kitchen, eyes wide with the kind of wonder only a seven-year-old can muster. She'd seen pictures online and became obsessed with the idea of a cake that held candy inside like an actual piñata. I remember thinking it seemed complicated, but watching her face when that first slice revealed the rainbow layers and hidden treasures? That's when I understood this wasn't just a dessert—it was edible magic.
I made this cake for a Cinco de Mayo potluck at my neighbor's house, and it became the moment everyone stopped eating and just... stared. The host's mother, who'd seen plenty of party desserts, actually gasped when we cut into it. Later, she asked for the recipe in broken English and Spanish mixed together, which somehow felt like the highest compliment I could receive.
Ingredients
- All-purpose flour (3 cups): The foundation that holds everything together; I've learned to whisk it with the other dry ingredients to distribute the leavening evenly so every layer rises beautifully.
- Baking powder and baking soda (2½ tsp and ½ tsp): These work together to give you tender, fluffy layers that won't crumble when you cut that center hole; don't skip either one.
- Salt (½ tsp): A tiny pinch that rounds out all the sweetness and somehow makes the cake taste more like cake.
- Unsalted butter (1 cup for cake): Softened properly is everything here—I leave mine on the counter while I prep everything else so it's truly room temperature.
- Granulated sugar (2 cups): Beat it with the butter until you see peaks forming and the mixture looks almost fluffy; this is where the magic starts.
- Eggs (4 large ones, room temperature): Room temperature eggs blend into the batter more smoothly, which keeps your cake tender rather than tough.
- Vanilla extract (2 tsp): Real vanilla makes a noticeable difference here, especially since the cake's flavor should be pure and classic before the surprise.
- Whole milk (1¼ cups, room temperature): The temperature matters because cold milk can seize up the butter mixture; think of it like bringing ingredients to the same party temperature.
- Gel food coloring (red, orange, yellow, green, blue, purple): Gel colors are more concentrated than liquid, so you won't thin out your batter; they also create those jaw-dropping vibrant colors.
- Assorted small candies (1½ cups): Mini M&Ms, gummy bears, and rainbow sprinkles work best; avoid anything sticky or so large it disrupts the layers.
- Unsalted butter for frosting (1½ cups): More butter means a smoother, more luxurious frosting that pipes beautifully if you want to get fancy.
- Powdered sugar (5 cups, sifted): Sifting removes clumps and makes your frosting silky instead of grainy—I learned this the hard way after my first grainy attempt.
- Milk for frosting (¼ cup): Adjust slightly if your frosting is too thick or thin; every kitchen is different and humidity plays a part.
- Vanilla extract (2 tsp for frosting): This echoes the cake flavor and ties everything together into one cohesive taste experience.
Tired of Takeout? 🥡
Get 10 meals you can make faster than delivery arrives. Seriously.
One email. No spam. Unsubscribe anytime.
Instructions
- Heat your oven and prepare the pans:
- Set your oven to 350°F (175°C) and grease those pans really well—I use butter and a little flour because it prevents sticking without any weird flavors. Line the bottoms with parchment paper too, just to be absolutely sure those delicate layers come out clean.
- Mix your dry ingredients:
- Whisk together the flour, baking powder, baking soda, and salt in a medium bowl; this step prevents lumps and distributes the leavening throughout. I've learned to sift the flour first if I don't have a whisk handy, which gives the same effect.
- Cream butter and sugar until fluffy:
- In your large bowl with the mixer, beat the softened butter and sugar together for about 3 minutes until it looks pale and almost mousse-like. This incorporates air into the mixture, which is what makes your cake light instead of dense.
- Add eggs one at a time:
- Drop in one egg, let it fully incorporate (about 30 seconds of beating), then add the next one; rushing this step can lead to a broken-looking batter, so patience wins here. Once all four are in, add your vanilla and mix briefly.
- Add dry and wet ingredients alternately:
- Start with about a third of the dry mixture, beat gently just until combined, then add a third of the milk, mix again, and repeat until everything is in. The key word is gently—overmixing at this stage makes your cake tough, and you've worked too hard to mess that up now.
- Divide and color your batter:
- Split the batter evenly into six bowls (eyeballing is fine) and add your gel food coloring to each one, stirring thoroughly until the color is evenly distributed. I use a toothpick to add color first, then stir to check the shade before adding more.
- Pour and bake:
- If you only have three pans, you'll bake in two batches (bottom three layers first, then top three), which means some layers bake while others cool. Pour each colored batter into its own prepared pan, smooth the top with an offset spatula, and bake for 15-18 minutes until a toothpick comes out clean. The layers should spring back slightly when you touch them gently in the center.
- Cool the layers properly:
- Let them cool in the pans for 10 minutes (they're fragile when hot), then turn them out onto wire racks to cool completely. I usually let mine sit for at least an hour before assembly because a warm cake crumbles when you cut it.
- Create the piñata cavity:
- Once cool, use a 3-inch round cutter to carefully press and twist out a hole from the center of four of your six layers, leaving the top and bottom layers whole to contain the treasure. Do this gently and straight down so you don't crack the surrounding cake.
- Make your frosting:
- Beat the softened butter until it's creamy and pale, then gradually add the sifted powdered sugar, milk, vanilla, and salt. Beat everything together for a couple minutes until it's fluffy and spreadable; if it seems too thick, add a splash more milk, too thin and add more powdered sugar.
- Assemble with care:
- Place your purple (or whichever color you chose for bottom) whole layer on your serving plate, spread a thin layer of frosting on top, then carefully stack the first cut-out layer. Frost that lightly and keep stacking, alternating between frosted layers and cut-out layers, until all four cut-out layers are stacked.
- Fill with the surprise:
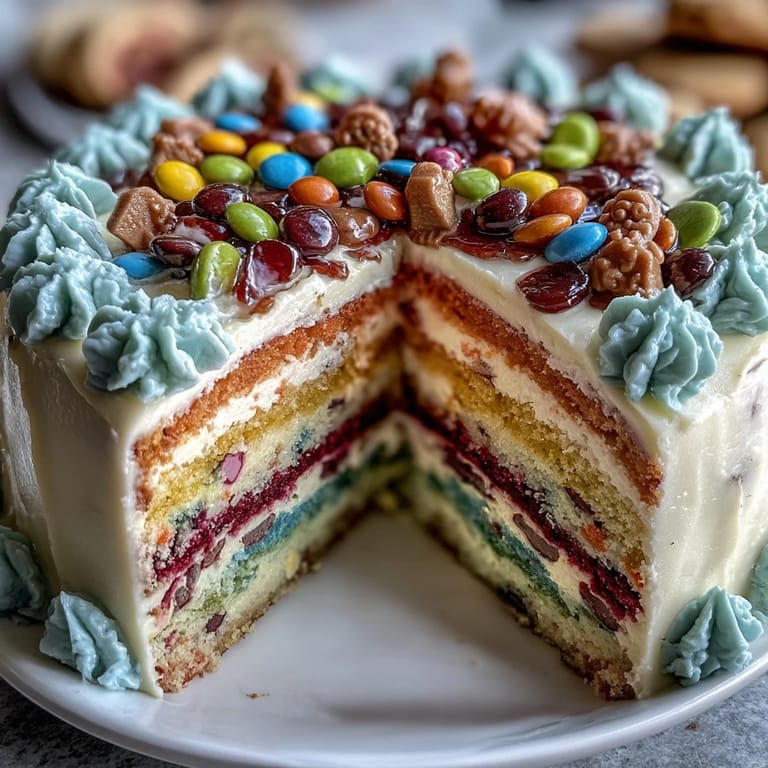
- Pour your assorted candies into the center cavity you've created—this is where the piñata magic happens. Don't overfill or the candies will spill out when you add the top layer.
- Top and frost:
- Place your final whole cake layer (the other solid color) on top to seal in the candy treasure. Now frost the outside and top generously with the remaining frosting, creating swoops and swirls if you're feeling artistic, or keeping it simple and smooth if you prefer.
- Chill and serve:
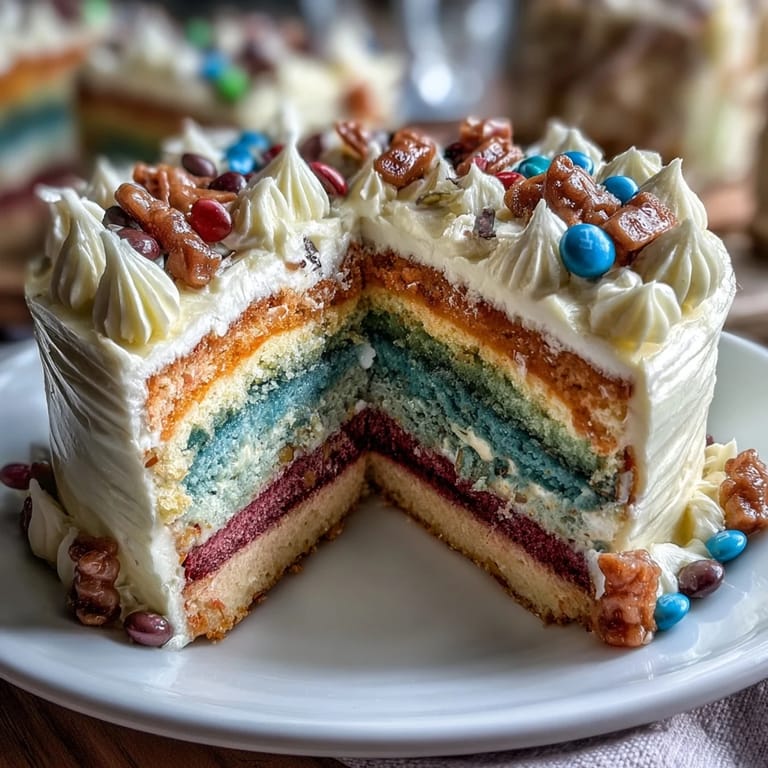
- Pop the whole cake in the refrigerator for at least 30 minutes; this firms everything up and makes slicing clean and impressive. When you slice it at the table, watch everyone's face light up as the rainbow layers and candy spill out.
 Save Pin
 There's a moment when a cake becomes more than just something you made for an occasion. It's when your best friend texts a photo of your piñata cake to her sister in another state, or when your coworker asks if you'll make it for their kid's birthday party. For me, it's knowing that this cake brings that specific kind of joy—the surprise, the color, the celebration—and that's worth every minute of effort.
Why This Works for Celebrations
There's something deeply satisfying about a cake that delivers on multiple levels. The rainbow layers catch the light when you carry it to the table, the colors promise something special before anyone even takes a bite, and then the hidden candy surprise makes it feel like a gift with each slice. It's showstopping without requiring any advanced baking skills—just patience and food coloring.
Troubleshooting Common Issues
If your layers crack when you cut the center hole, it usually means they weren't fully cooled or the cake itself is too fragile (which happens when you overmix the batter). If your frosting is grainy, you likely didn't sift the powdered sugar or your butter wasn't soft enough—just re-beat it with a splash of milk and it usually smooths out. If the candies shift around inside the cake, you didn't chill it long enough before slicing, so next time give it a solid 30-45 minutes in the cold.
Making It Your Own
The beautiful part about this recipe is how customizable it is once you understand the basic structure. You can swap the candies for whatever your crowd loves—crushed cookies, chopped chocolate, gummy worms for a spooky version—or experiment with different food coloring combinations to match your party theme. Some bakers add a touch of almond extract to the frosting, others color the frosting to match the layers for an even more dramatic effect.
- Try using a citrus zest or lemon juice in the batter for a subtle brightness that cuts through the sweetness.
- If you want to go gluten-free, a 1:1 blend works seamlessly and your guests likely won't notice the difference.
- For easier assembly, chill all your layers and frosting before you start stacking, which gives you more working time without things shifting around.
 Save Pin
 This is the kind of cake that reminds you why you love feeding people in the first place. It's pure celebration in every slice.
Recipe FAQs
- → How do I create the colorful layers?
Divide the batter into six portions and tint each with gel food coloring: red, orange, yellow, green, blue, and purple for vibrant layers.
- → What candies work best for the filling?
Use small, non-sticky candies like mini M&Ms, rainbow sprinkles, or gummy bears to prevent mess and ensure easy slicing.
- → How can I ensure neat slices revealing the candy center?
Chill the assembled cake for at least 30 minutes before slicing to firm up the frosting and prevent layers from sliding.
- → Can I make this cake gluten-free?
Yes, substitute the all-purpose flour with a 1:1 gluten-free flour blend to accommodate dietary needs.
- → What is the role of the 3-inch cutter?
It’s used to cut out the center of four layers, creating cavities to hold the candy surprise inside the cake.