 Save Pin
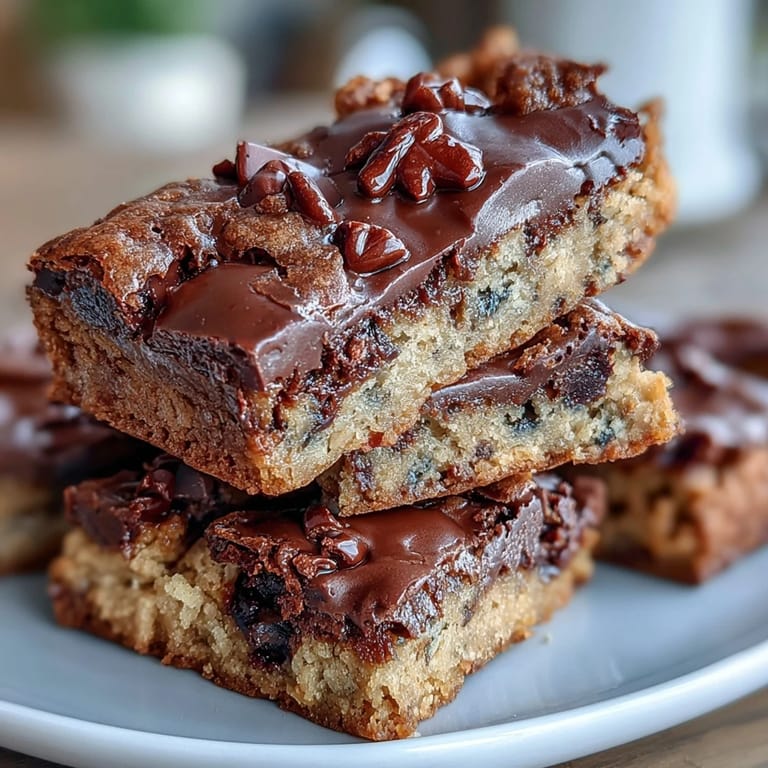
 There's something about March that makes me want to bake something green and celebratory, even if I'm not Irish myself. A few years back, I was standing in the grocery store at 6 PM on St. Patrick's Day, panic-stricken because I'd promised to bring dessert to a friend's dinner party, when I spotted a bag of green sprinkles that seemed to wink at me. That's when these Lucky Clover bars came to life—a last-minute rescue that somehow became the star of the evening. Now I make them every year, not because of the obligation, but because biting into that chocolate-studded chewiness while everything glitters green feels like a small, edible joy.
I'll never forget watching my friend Sarah take her first bite at that dinner party, then immediately ask for the recipe before she'd even swallowed. She's made them three times since, and she texts me photos of her bars with increasingly elaborate decorations—last year she added edible gold dust and tiny clover cutouts. Food doesn't always have to be complicated to mean something.
Ingredients
- All-purpose flour (2 1/4 cups): The foundation that keeps everything tender without being cakey—don't sift it unless you want them disappointingly dry.
- Baking soda (1/2 teaspoon): This tiny amount is what gives you that subtle tang and helps them brown evenly, so don't skip it or halve it on a whim.
- Salt (1/2 teaspoon): Makes the sweetness sing and deepens the chocolate flavor in ways you won't consciously notice but will definitely feel.
- Unsalted butter, melted (1 cup): Let it cool for just a minute before mixing—too hot and you'll scramble the eggs, too cool and you'll have lumps.
- Light brown sugar (1 cup, packed): The molasses in brown sugar is what makes these bars taste almost caramel-like, so don't substitute with white unless you're ready for a different outcome.
- Granulated sugar (1/2 cup): This balances the brown sugar's depth with brightness and helps create that crispy edge.
- Eggs (2 large): Room temperature eggs mix in more smoothly, and they help bind everything into that perfect chewy structure.
- Pure vanilla extract (2 teaspoons): Use the real stuff—imitation will never give you that warmth that makes people say "what IS that amazing smell?"
- Semi-sweet chocolate chips (1 1/2 cups): The workhorse of the recipe, so pick a brand you actually enjoy eating straight from the bag.
- White chocolate chips (1/2 cup): These add subtle sweetness and little pockets of creamy luxury without overpowering the chocolate chip experience.
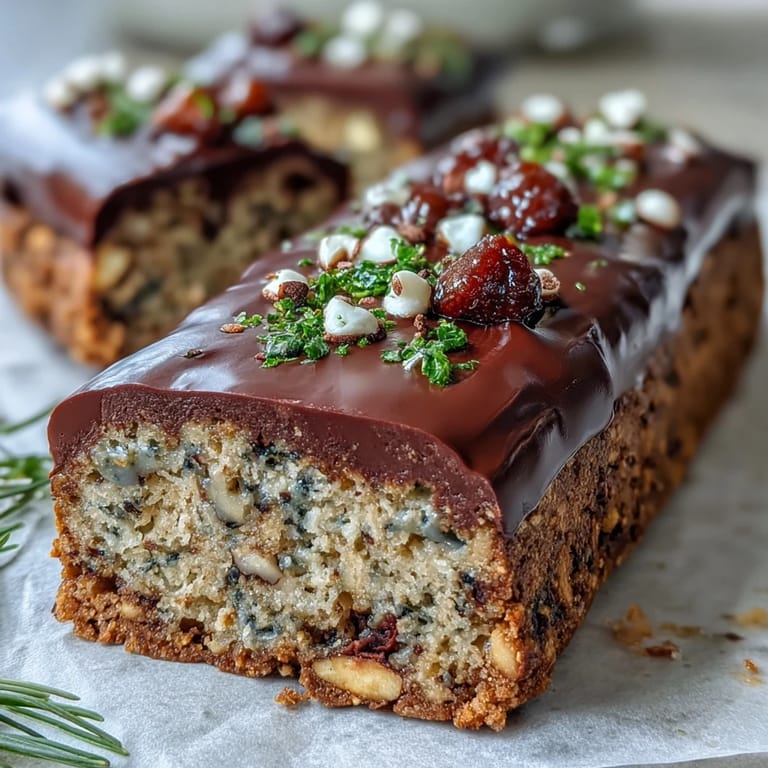
- Green sprinkles (1/4 cup): The whole personality of the recipe lives here—get the sanding sugar kind if you want sophistication, or the pearl sprinkles for maximum shimmer.
- Green chocolate candies like green M&Ms (1/2 cup, optional): If you're using these, pick them out first so you can distribute them evenly and feel like you're decorating rather than just randomly tossing.
- Clover-shaped sprinkles (optional): The cherry on top that screams "I made this for St. Patrick's Day on purpose," not by accident.
Tired of Takeout? 🥡
Get 10 meals you can make faster than delivery arrives. Seriously.
One email. No spam. Unsubscribe anytime.
Instructions
- Get your pan ready:
- Preheat your oven to 350°F and line that 9x13-inch pan with parchment paper, letting a little hang over the edges like a handle you'll use later to lift everything out. This step is small but absolutely worth it, because trying to extract warm bars without this trick is how you end up with bar-shaped crumbles instead of actual bars.
- Mix the dry goods:
- In a medium bowl, whisk together your flour, baking soda, and salt—this aeration is subtle but keeps everything from being dense. If you've got lumpy brown sugar from the back of your pantry, break it up with a fork as you measure it out.
- Cream the butter and sugars:
- Whisk the cooled melted butter with both sugars until smooth—you're not creaming like you would with a mixer, just combining until it looks shiny and evenly colored. This should take about a minute, and you'll know you're done when you don't see any sugar crystals anymore.
- Add the eggs and vanilla:
- Whisk the eggs and vanilla into your wet mixture one at a time if you want to be careful, or both together if you're confident—either way, mix until it's totally combined and feels thick and custardy. This is where the recipe starts smelling like something special.
- Bring it together:
- Using a spatula, fold in your dry ingredients gently until just combined—overmixing is the enemy here and will make them tough instead of chewy. Stop folding when you don't see white streaks of flour anymore, even if you think you should keep going.
- Add the treasures:
- Gently stir in the semi-sweet and white chocolate chips plus half your green sprinkles (and green candies if you're using them)—this keeps the green color more distributed throughout instead of clumpy on top. It's okay if a few sprinkles melt, that's part of the charm.
- Fill the pan:
- Spread the dough evenly into your prepared pan—it won't cover perfectly at first, but gentle pressure with a spatula will get it there. Sprinkle the remaining green sprinkles, candies, and clover sprinkles on top in whatever pattern makes you happy.
- Bake until golden:
- Bake for 23 to 26 minutes, watching for a light golden color on top and using a toothpick to check the center—you want moist crumbs clinging to it, not wet batter. Every oven is different, so start checking at 23 minutes if yours runs hot.
- Cool and cut:
- Let them cool completely in the pan before you even think about cutting—warm bars fall apart, but cooled bars slice cleanly. Use the parchment overhang to lift everything out, then cut with a sharp knife in clean downward strokes rather than sawing.
 Save Pin
 There was this Tuesday afternoon when my neighbor knocked on my door asking if I had any cookies because her daughter was sad about something she wasn't quite ready to talk about. I happened to have made a batch of these, and I wrapped some in green tissue paper like it was intentional and special. Sometimes the best thing food can do isn't taste good—it's show up at the exact moment someone needs to feel like they're not alone.
The Secret to Peak Chewiness
The real trick to bars that stay chewy for days is underbaking them by about two minutes and then letting them finish cooking in residual heat as they cool. I learned this by accident when I got distracted and forgot about them, pulled them out early, and discovered they were somehow better than my perfectly timed batches. Now I do it on purpose, pulling them out when the center still jiggles slightly when I tap the pan.
Why the Two-Sugar Approach Works
Using both brown and granulated sugar isn't just extra work—the brown sugar brings molasses flavor and moisture while the white sugar helps them brown and get crispy at the edges. Together they create this impossible texture where you get both chew and crunch in the same bite, which sounds weird until you experience it. Once you notice this balance, you'll start seeing it in every cookie recipe worth keeping.
Decorating and Storage Magic
The beauty of these bars is that they look intentionally festive without requiring any decorating skill—the sprinkles do all the work for you while they bake. If you want to get fancy, drizzle melted white chocolate on top after they cool, which not only looks impressive but helps seal in the chewiness. These freeze beautifully in an airtight container for up to two months, so making a batch early in March means you've got dessert insurance through the whole month.
- Store them in layers separated by parchment so they don't stick together in the freezer.
- Let them come to room temperature before eating—cold bars taste dense, but room temperature bars taste like they were meant to be chewy.
- If you're bringing them somewhere, freeze them and they'll thaw during transport, arriving at peak texture.
 Save Pin
 These bars have taught me that the best recipes are the ones people ask for by name, the ones that become part of how you mark a season or celebrate a friend. Make them once and you'll understand why.
Recipe FAQs
- → What makes these bars chewy?
The combination of melted butter and a balanced mix of brown and granulated sugars contributes to their moist and chewy texture.
- → Can I prepare these bars ahead of time?
Yes, these bars can be baked in advance and stored in an airtight container to maintain freshness for up to two months when frozen.
- → What is the purpose of green sprinkles and candies?
They add festive color and a subtle crunch, enhancing the visual appeal and texture suited for St. Patrick's Day themes.
- → Are there alternative mix-ins to chocolate chips?
Chopped nuts can replace part of the chocolate chips to add a different crunch and flavor dimension.
- → How can I ensure even baking of the bars?
Using parchment paper in a 9x13-inch pan ensures easy removal; bake until edges are golden and a toothpick shows moist crumbs at the center.