 Save Pin
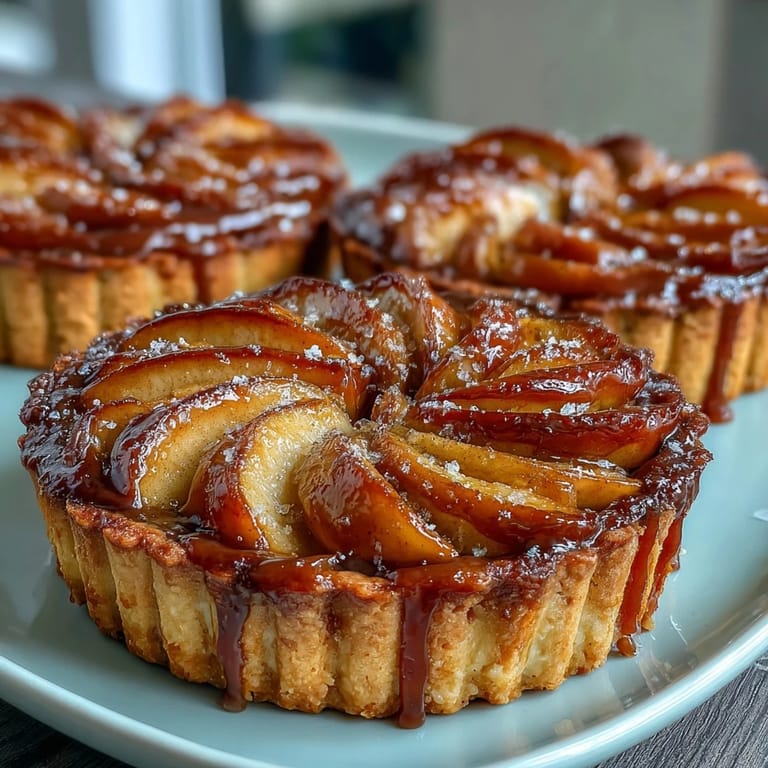
 The first time I made caramel apples at home, I was convinced I'd somehow ruin them—they seemed like the kind of thing that required professional candy-making equipment and years of practice. But standing in my kitchen on a crisp October afternoon, wooden stick in hand and a pot of bubbling caramel on the stove, I realized how wonderfully wrong I was. There's something almost magical about watching a plain apple transform into a glossy, caramel-coated treasure, especially when you finish it with that hit of flaky sea salt. Now I make them every fall, and they've become the one treat people actually ask me to bring to gatherings.
I'll never forget the year my neighbor Sarah mentioned offhandedly that she'd always wanted to try homemade caramel apples but thought they were too fancy. I made her a batch on a whim, and watching her bite into one—the way her eyes lit up when that salt hit—made me realize these weren't fancy at all, just deeply satisfying. She still asks about them every October, and I've learned that some of the best kitchen moments happen when you share something genuinely delicious without overthinking it.
Ingredients
- Apples: Small to medium crisp varieties like Granny Smith or Honeycrisp work best—the tartness balances the sweetness beautifully, and their firm texture holds up to the hot caramel without getting mushy.
- Wooden sticks: Sturdy craft sticks or popsicle sticks are essential; flimsy ones will snap when you're dipping, which I learned the disappointing way.
- Unsalted butter: This is where the caramel's rich, complex flavor comes from, so don't skimp on quality.
- Packed light brown sugar: The molasses in brown sugar gives the caramel its deep color and subtle depth that white sugar can't match.
- Light corn syrup: This prevents the caramel from crystallizing as it cools, keeping it smooth and glossy.
- Sweetened condensed milk: This creates that creamy, tender texture that makes the caramel melt on your tongue instead of becoming hard and brittle.
- Fine sea salt and flaky sea salt: A pinch of fine salt in the caramel itself enhances the flavor, while the flaky Maldon salt on top adds a beautiful visual contrast and a textural surprise.
- Vanilla extract: Just one teaspoon rounds out the caramel's flavor with warmth and complexity.
Tired of Takeout? 🥡
Get 10 meals you can make faster than delivery arrives. Seriously.
One email. No spam. Unsubscribe anytime.
Instructions
- Prepare your apples and workspace:
- Wash and thoroughly dry your apples—any moisture or waxy coating will prevent the caramel from sticking properly. Insert wooden sticks firmly into each apple through the stem end, and line your baking sheet with parchment paper lightly greased with butter.
- Build the caramel base:
- In a heavy-bottomed saucepan, melt the butter over medium heat, then stir in the brown sugar, corn syrup, condensed milk, and fine sea salt. You'll notice how quickly the mixture comes together once the heat hits it, releasing that nutty, buttery aroma that fills your entire kitchen.
- Cook to soft-ball stage:
- Stir constantly with a wooden spoon or heatproof spatula as the mixture comes to a boil, then attach your candy thermometer to the pan. Keep stirring and let it bubble away for 10 to 15 minutes until it reaches exactly 240°F—this soft-ball stage is what gives the caramel its tender, chewy texture rather than a hard, brittle crunch.
- Finish the caramel:
- Remove the pan from heat immediately once it hits temperature, then stir in the vanilla extract. Let it cool for 2 to 3 minutes so it thickens slightly but stays pourable—this is the sweet spot where it clings to the apple instead of sliding right off.
- Dip with confidence:
- Hold each apple by its stick and dip it into the caramel, turning slowly to coat every surface evenly. Let the excess drip back into the pan for a few seconds, then carefully place it on your prepared baking sheet.
- Add the finishing touch:
- While the caramel is still tacky and warm, sprinkle each apple lightly with flaky sea salt—the warmth will help it adhere. Let the apples sit at room temperature for at least 30 minutes until the caramel firms up completely.
 Save Pin
 There's something wonderfully simple about the moment when caramel-dipped apples become more than just a dessert—they become a symbol of comfort and care. I think about all the times I've made these for people who were having rough days, and how something so small and sweet somehow made things feel a little better.
The Caramel Temperature Sweet Spot
Temperature control is everything in caramel making, and 240°F is the magical number that separates chewy success from disappointing failure. I used to cook mine to 250°F thinking more heat meant better results, but that just gave me caramel that hardened like concrete and pulled at my teeth. Learning to trust the thermometer completely changed my approach to candy making in general—it taught me that precision isn't boring, it's actually liberating.
Why Apples Matter More Than You'd Think
The apple itself is doing more work than you might realize in this recipe, and choosing the right variety makes the difference between a forgettable treat and something memorable. Tart apples like Granny Smith provide essential balance to all that sweetness, while firmer varieties hold up better to the hot caramel and stay crisp throughout. I've tried softer apples before out of convenience, and they turn mushy and mealy within a day or two, but the crisp ones stay firm for days, giving you an actual window of time to enjoy them.
Creative Variations and Finishing Touches
Once you master the basic caramel apple, the fun really begins—this is where your kitchen personality gets to shine through. Before the caramel sets completely, you can roll the apples in chopped toasted nuts for crunch, drizzle them with melted dark chocolate for sophistication, or even press in crushed candy canes for a festive twist. The beauty of homemade caramel is that it's yours to play with, and there's real joy in discovering your own signature version.
- Toasted pecans or walnuts add a nutty richness that complements the salt perfectly.
- Dark chocolate drizzle provides a sophisticated contrast and makes these feel extra special.
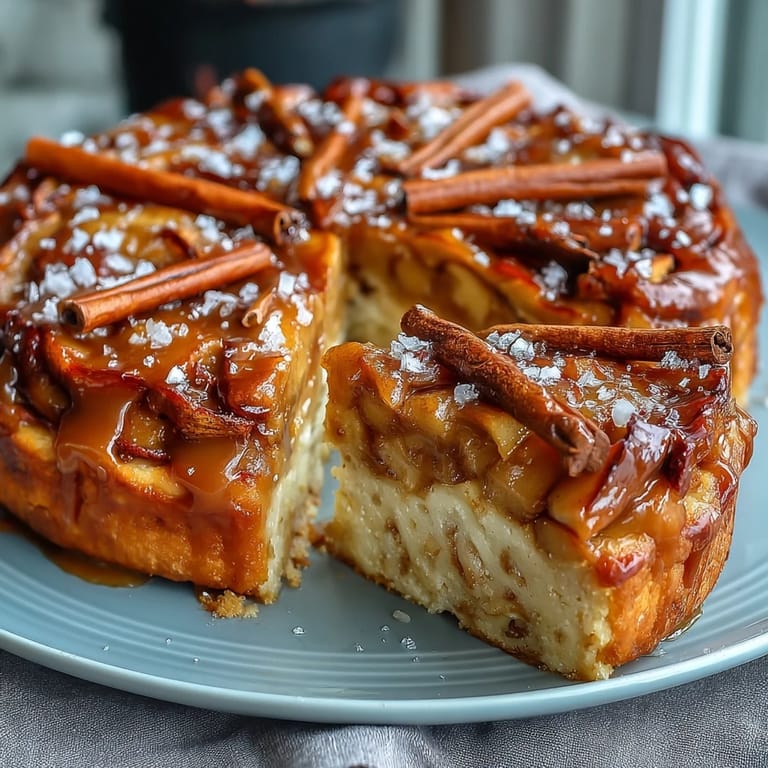
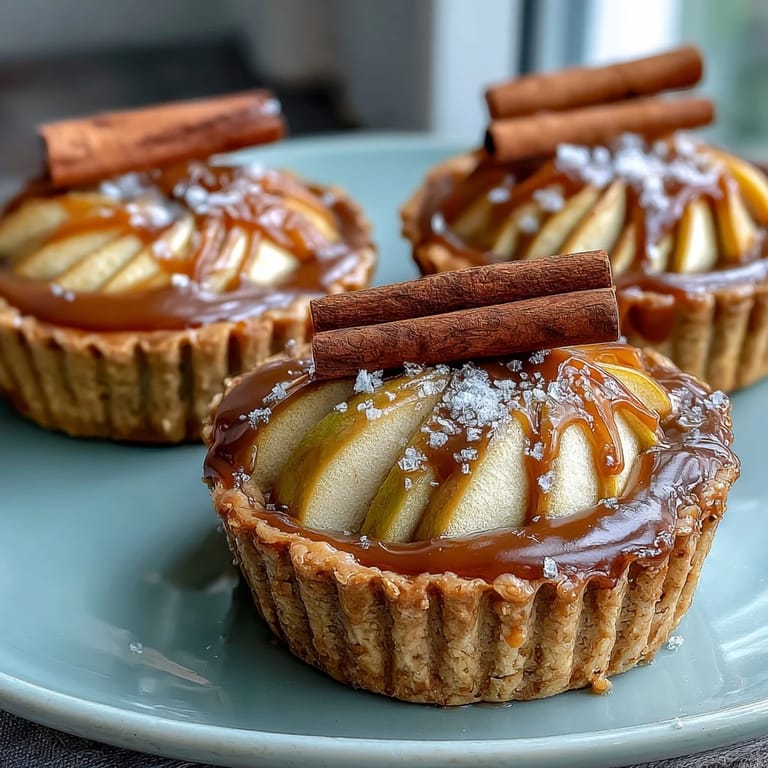
- A sprinkle of cinnamon along with the sea salt bridges the gap between fall dessert and holiday treat.
 Save Pin
 These caramel apples have become my answer to the question of what to bring when you want to feel like you've made real effort without spending hours in the kitchen. There's something grounding about a homemade treat that tastes like autumn and feels like a hug.
Recipe FAQs
- → What type of apples work best for dipping?
Firm and crisp apples like Granny Smith or Honeycrisp hold up best for dipping and provide a nice tart contrast to the sweet caramel.
- → How do I prevent the caramel from cracking after it sets?
Allow the caramel to cool slightly before dipping and avoid chilling the coated apples; room temperature drying helps maintain a smooth coating.
- → Can I add other toppings besides sea salt?
Yes, rolling the caramel apples in chopped nuts or drizzling with melted dark chocolate offers delicious variations.
- → Why is it recommended to use unwaxed apples?
Unwaxed apples allow the caramel to adhere better, preventing slipping or sliding off the surface.
- → How do I tell when the caramel is ready for dipping?
Cook the caramel to the soft-ball stage (around 240°F / 115°C) to ensure a thick yet pourable consistency perfect for coating.