 Save Pin
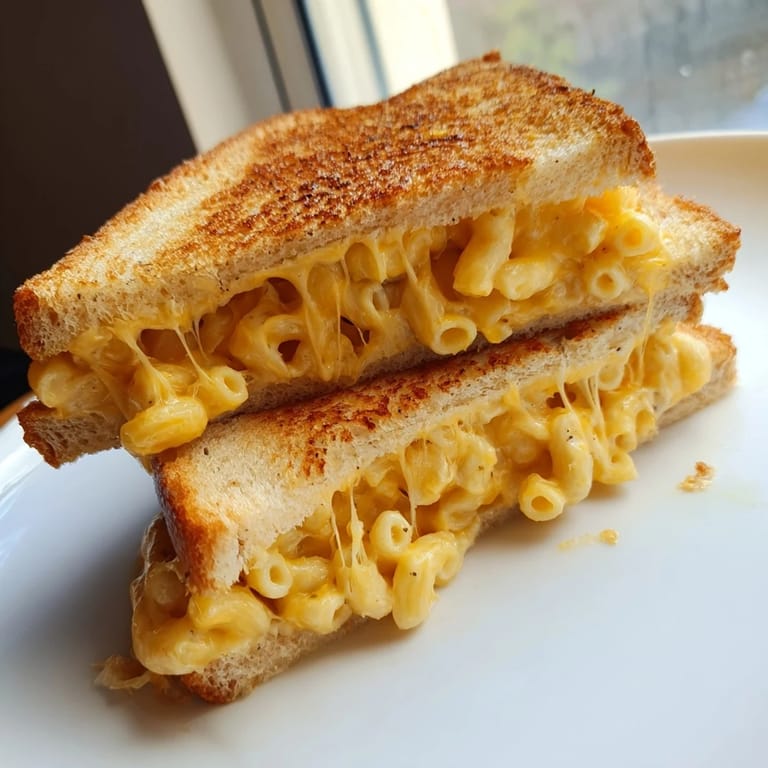
 My roommate walked into the kitchen one rainy Tuesday night and found me scraping the last of the mac and cheese from the pot with a spatula. I held up two slices of bread and said, What if we just put this inside? She laughed, but twenty minutes later we were both sitting cross-legged on the floor, biting into the most ridiculously indulgent sandwich either of us had ever made. We didn't speak for a solid five minutes, just chewed and grinned at each other like we'd discovered fire.
I started making these on purpose after that first accidental night, usually when friends came over for movie marathons or when I needed to shake off a long week. One time I made a batch for my neighbor who'd just moved in, and she later told me it was the first time she felt at home in the new apartment. Food has that power sometimes, especially when it's this unapologetically indulgent.
Ingredients
- Elbow macaroni: The classic shape holds onto cheese sauce beautifully, and cooking it just to al dente means it won't turn mushy inside the sandwich.
- Sharp cheddar cheese: The sharpness cuts through the richness and gives the sauce real personality instead of just blandness.
- Unsalted butter: You'll use this twice, once in the sauce and once on the bread, so keep it softened for easy spreading.
- Whole milk: It makes the sauce creamy without being too heavy, and I've found skim milk just doesn't give the same silky texture.
- Sourdough or sandwich bread: Sourdough adds a tangy contrast, but soft white bread crisps up beautifully and feels more nostalgic.
- Cheddar or American cheese slices: Optional, but they add an extra melty layer that glues everything together when you bite in.
Tired of Takeout? 🥡
Get 10 meals you can make faster than delivery arrives. Seriously.
One email. No spam. Unsubscribe anytime.
Instructions
- Cook the macaroni:
- Bring the salted water to a rolling boil and add the macaroni, stirring once so it doesn't stick. Drain it the moment it's al dente, because it'll soften more when you mix it with the hot cheese sauce.
- Make the cheese sauce:
- Melt the butter in the same pot, then stir in the drained pasta, milk, shredded cheese, and pepper until everything melts into a glossy, creamy sauce. Let it cool for a few minutes so it thickens up and doesn't slide out of the sandwich.
- Assemble the sandwiches:
- Spread softened butter on one side of each bread slice, then pile the mac and cheese onto the unbuttered side. If you're using cheese slices, lay them on top of the mac before closing the sandwich with another slice, buttered side out.
- Cook the sandwiches:
- Heat your skillet over medium and lay the sandwiches in carefully, pressing gently with a spatula. Cook until golden and crisp, about three to four minutes per side, and resist the urge to crank the heat or the bread will burn before the inside gets gooey.
- Rest and serve:
- Let the sandwiches sit for a minute or two after you pull them from the pan. This gives the cheese a moment to set so it doesn't all spill out when you slice.
 Save Pin
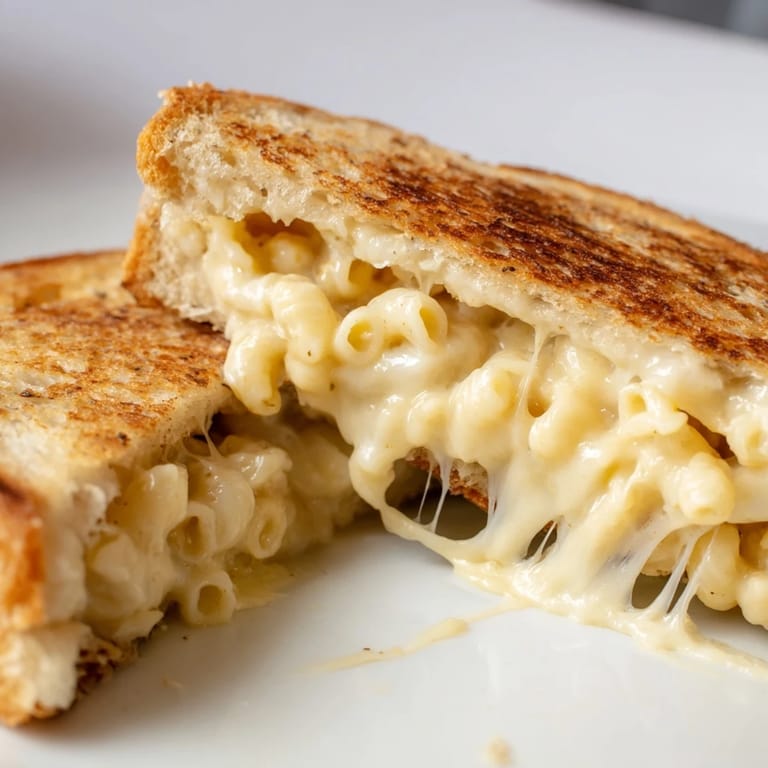
 The first time I served these at a dinner party, I worried they were too casual, too silly for a table set with cloth napkins. But everyone picked them up with both hands, and within seconds the room went quiet except for the crunch of toast and the occasional happy sigh. One friend looked up and said, This is the best decision you've ever made, and I couldn't argue.
Making It Your Own
I've stirred in crispy bacon bits, chopped chives, and even a spoonful of hot sauce into the mac and cheese before assembly. Once I tucked in thin slices of tomato, which added a bright, juicy contrast that cut through all the richness. If you have jalapeños or caramelized onions on hand, those work beautifully too.
Storing and Reheating
These are best eaten right away, but if you have leftovers, wrap them in foil and reheat in a 350°F oven for about ten minutes. The microwave will make the bread soggy, so avoid that if you can. Leftover mac and cheese keeps in the fridge for up to three days, which means you can make sandwiches on demand all week long.
Serving Suggestions
I almost always serve these with a bowl of tomato soup for dipping, because the combination feels like the ultimate cozy meal. A simple green salad with a tangy vinaigrette helps balance the richness, and pickles on the side add a sharp, briny crunch that keeps things interesting.
- Pair with tomato soup, dill pickles, or a crisp arugula salad.
- Cut into triangles or fingers for a fun appetizer at parties.
- Serve alongside sweet potato fries or a handful of kettle chips for extra crunch.
 Save Pin
 This sandwich is proof that sometimes the best recipes come from late night experiments and a willingness to be a little ridiculous. Make it when you need comfort, when you want to impress, or when you just want to feel like a kid again.
Recipe FAQs
- → Can I prepare the mac and cheese ahead of time?
Yes, you can prepare the mac and cheese up to 24 hours in advance and store it in an airtight container in the refrigerator. Warm it gently before assembling the sandwiches to ensure it spreads easily.
- → What type of bread works best?
Sourdough, brioche, or thick-cut sandwich bread work wonderfully. Choose bread sturdy enough to hold the creamy filling without falling apart. Avoid thin bread that may become soggy.
- → How do I prevent the cheese from leaking out?
Let the cooked mac and cheese cool slightly so it thickens before assembling. Don't overfill each sandwich—use about 1/4 cup per sandwich. This helps keep the filling contained during grilling.
- → Can I add other ingredients to customize this?
Absolutely. Crispy bacon bits, caramelized onions, fresh tomato slices, or herbs like chives enhance the flavor. A dash of hot sauce or smoked paprika adds a nice kick to the cheese sauce.
- → What's the best cooking temperature and method?
Medium heat is ideal to cook the exterior until golden while allowing the cheese to melt thoroughly. Use a griddle or large skillet and press gently with a spatula. Cook 3-4 minutes per side for optimal results.
- → How should I serve this sandwich?
Serve immediately while hot and cheese is melted. Pair with tomato soup, pickles, or a simple green salad for a complete meal. Cut diagonally for presentation and easier eating.