 Save Pin
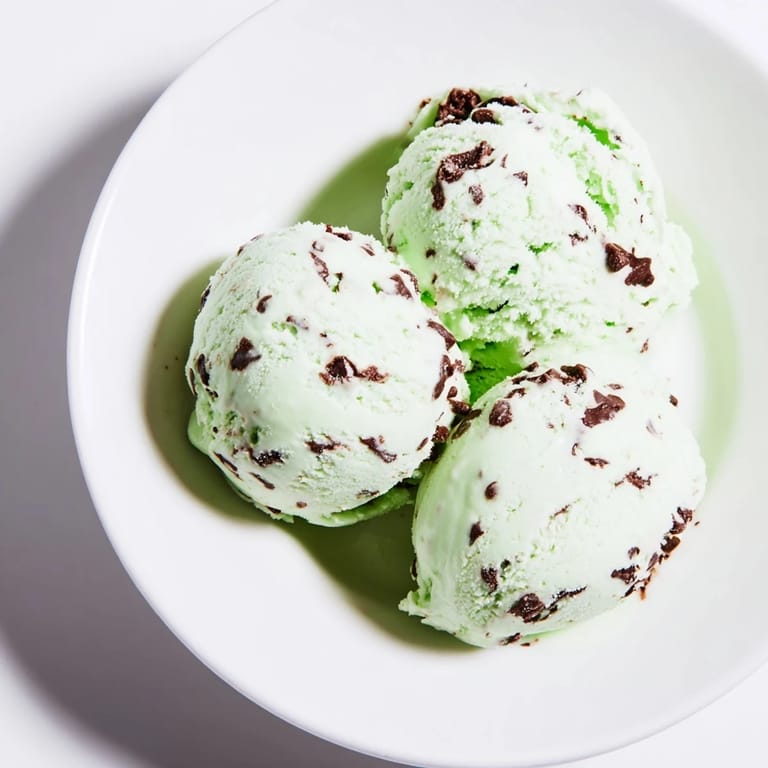
 There's something magical about the moment when you pull a carton of homemade ice cream from the freezer and realize you actually made that. My first attempt at mint chocolate chip was born from a hot July afternoon when every store seemed closed and my nephew was visiting, begging for ice cream. I had cream, eggs, and a vague memory of how custard worked, so I decided to try. What emerged hours later wasn't just dessert—it was proof that something this creamy and perfect could come from my own kitchen.
I served this at a dinner party where someone's partner took one spoonful and just closed their eyes—no words, just that look of pure contentment. That's when I understood this recipe wasn't just about technical execution, it was about creating a moment that lands differently when it comes from your effort and attention.
Ingredients
- Heavy cream (2 cups) and whole milk (1 cup): These are your foundation for that silky, luxurious texture—the ratio matters because it balances richness with the ability to freeze properly.
- Granulated sugar (3/4 cup): Split between the cream mixture and egg yolks, the sugar both sweetens and helps stabilize the custard as it thickens.
- Egg yolks (4 large): These create the custard base that makes homemade ice cream infinitely creamier than no-churn versions—just make sure your eggs are fresh and you temper them carefully.
- Pure peppermint extract (1 1/2 teaspoons) and vanilla extract (1/2 teaspoon): The peppermint does the heavy lifting here, but vanilla rounds out the flavor and prevents it from tasting artificial—pure extracts make a noticeable difference.
- Optional green food coloring: A few drops turns this into the color people expect, but honestly it's optional if you prefer a more natural cream shade.
- Semisweet chocolate chips (3/4 cup): Mini chips integrate better than chunks, but chop larger chips if that's what you have—quality chocolate matters more than size because you're tasting it directly.
Tired of Takeout? 🥡
Get 10 meals you can make faster than delivery arrives. Seriously.
One email. No spam. Unsubscribe anytime.
Instructions
- Heat your cream mixture gently:
- Combine the heavy cream, milk, and half the sugar in a medium saucepan over medium heat. You want it steaming and tiny bubbles forming around the edges, but not actively boiling—trust your eyes and nose to tell you when it's ready.
- Whisk your egg yolks until they lighten:
- In a separate bowl, whisk the remaining sugar with your egg yolks until the mixture becomes pale, thick, and ribbony. This takes about 3 minutes of steady whisking and helps the yolks cook more evenly.
- Temper the eggs carefully:
- Slowly pour about 1 cup of that hot cream into your whisked yolks while whisking constantly—this is the crucial step that prevents scrambled eggs. Add it slowly and keep whisking; rushing this is where things go wrong.
- Cook the custard to silky perfection:
- Pour your tempered yolk mixture back into the saucepan and reduce heat to low. Stir constantly with a wooden spoon, scraping the bottom and sides, until the custard coats the back of the spoon and reaches 170–175°F. You'll feel the moment it thickens—don't stop stirring or you'll have grainy bits, and never let it boil or you'll have scrambled eggs.
- Strain and flavor:
- Remove from heat and stir in the peppermint extract, vanilla extract, and food coloring if using. Pour everything through a fine-mesh sieve into a clean bowl to catch any cooked egg bits—this step is what makes the final texture impossibly smooth.
- Chill thoroughly:
- Cool the mixture to room temperature, then cover and refrigerate for at least 3 hours or overnight. Cold custard churns faster and freezes better, so don't skip this patience-building step.
- Churn with precision:
- Follow your ice cream maker's instructions—usually this means pouring in the chilled custard and letting it churn for 20–25 minutes. About 2–3 minutes before it finishes, add your chocolate chips so they stay whole rather than getting broken up.
- Freeze until scoopable:
- Transfer to a lidded container and freeze for 2–4 hours until firm enough to scoop but still creamy rather than rock-hard. Fresh churned ice cream is soft; the freezer time is what gives you that perfect scoopable texture.
 Save Pin
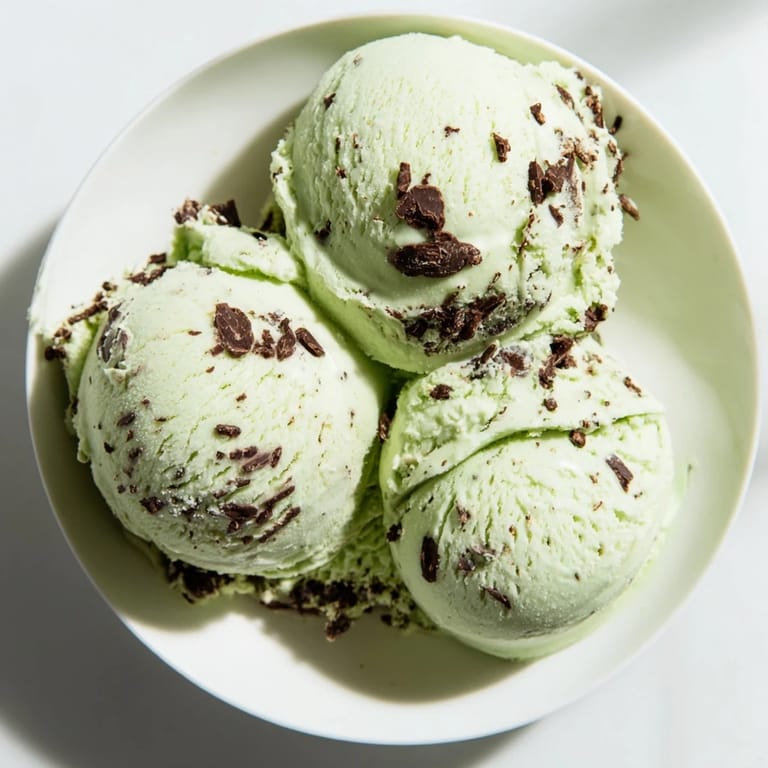
 The first time someone asked for my recipe instead of just complimenting it, I felt genuinely proud in a way that's hard to explain for something as simple as ice cream. It meant I'd done more than follow instructions—I'd created something people wanted to replicate.
Deepening the Mint Flavor
If 1 1/2 teaspoons of extract feels like it might be too subtle, steep a generous handful of fresh mint leaves directly in your cream and milk mixture before heating it. Let the leaves sit in the warm (not hot) liquid for 15–20 minutes, then strain them out completely before adding the mixture to your egg yolks. This method pulls actual mint flavor rather than relying solely on extract, and the result tastes fresher and more complex. Some people even muddle the mint gently before steeping to release more oils, though be careful not to bruise it into bitterness.
Chocolate Choices and Additions
The quality of your chocolate genuinely matters here because you're tasting it in every spoonful, not baking it into something else. Dark chocolate brings sophistication, milk chocolate adds sweetness, and semisweet offers balance—there's no wrong choice, just different personalities. I've also added a pinch of sea salt to the chocolate chips before churning, which sounds strange until you taste how it makes the chocolate flavor pop against the cool mint. White chocolate chips work too if you want something different, and crushed candy canes are a natural winter variation that comes together just as easily.
Storage and Serving Wisdom
Homemade ice cream has less air whipped into it than commercial versions, so it freezes harder and colder than you might expect—if your scoops feel impossible, let the container sit on the counter for 5 minutes first. Covered, it keeps beautifully for about 2 weeks in the freezer, though it somehow never lasts that long. Storage matters too: an airtight container with plastic wrap pressed directly against the surface prevents ice crystals from forming on top, which is the difference between smooth scoops and grainy ones.
- If your ice cream starts melting unevenly or gets icy, it's usually because the freezer temperature fluctuated—keeping it in the coldest part of your freezer helps maintain that creamy consistency.
- Softening it in the refrigerator for 10 minutes before serving makes scooping easier without compromising the texture like counter time would.
- This same custard base works perfectly for vanilla, coffee, strawberry, or any flavor variation once you master the technique.
 Save Pin
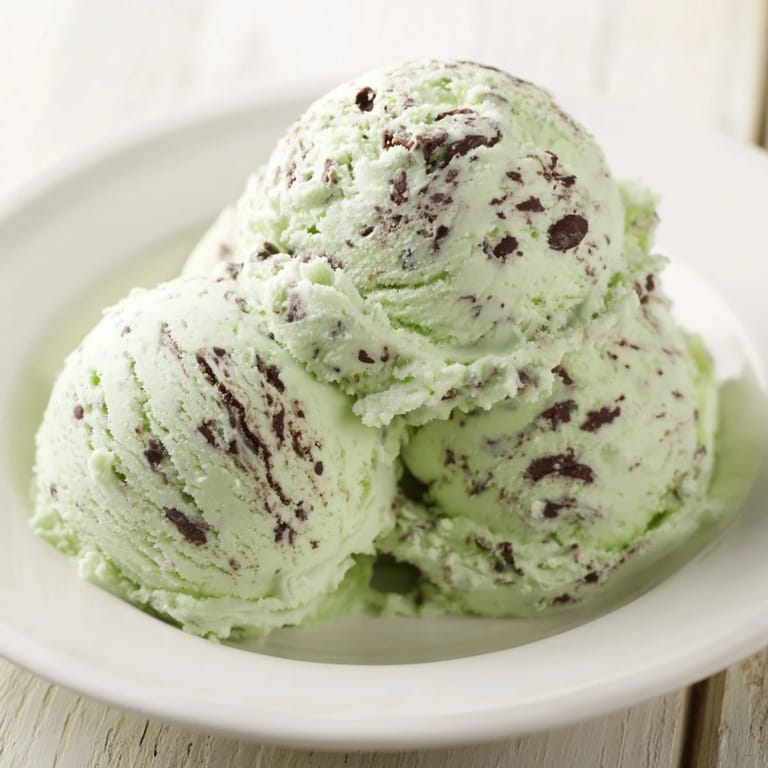
 There's something quietly perfect about serving homemade ice cream to someone and watching their surprise turn into genuine pleasure. Every time you make this, you're not just following a recipe—you're creating the kind of memory that tastes like both effort and care.
Recipe FAQs
- → What ingredients provide the mint flavor?
Pure peppermint extract imparts the fresh mint flavor, and optionally fresh mint leaves can be steeped in the cream for more intensity.
- → How do I achieve a smooth texture in this frozen dessert?
Tempering the egg yolks with warm cream mixture and cooking until thickened creates a rich custard base that ensures smoothness after freezing.
- → Can I use a dairy-free alternative?
Coconut milk and coconut cream can replace dairy for a dairy-free version while maintaining creaminess.
- → When should chocolate chips be added?
Chocolate chips are stirred in during the last minutes of churning to ensure even distribution without melting.
- → How long should the mixture chill before freezing?
Chill the custard base thoroughly in the refrigerator for at least 3 hours or overnight before churning and freezing.
- → What tools are essential for preparation?
A medium saucepan, whisk, wooden spoon, fine-mesh sieve, and an ice cream maker are key for making the dessert.